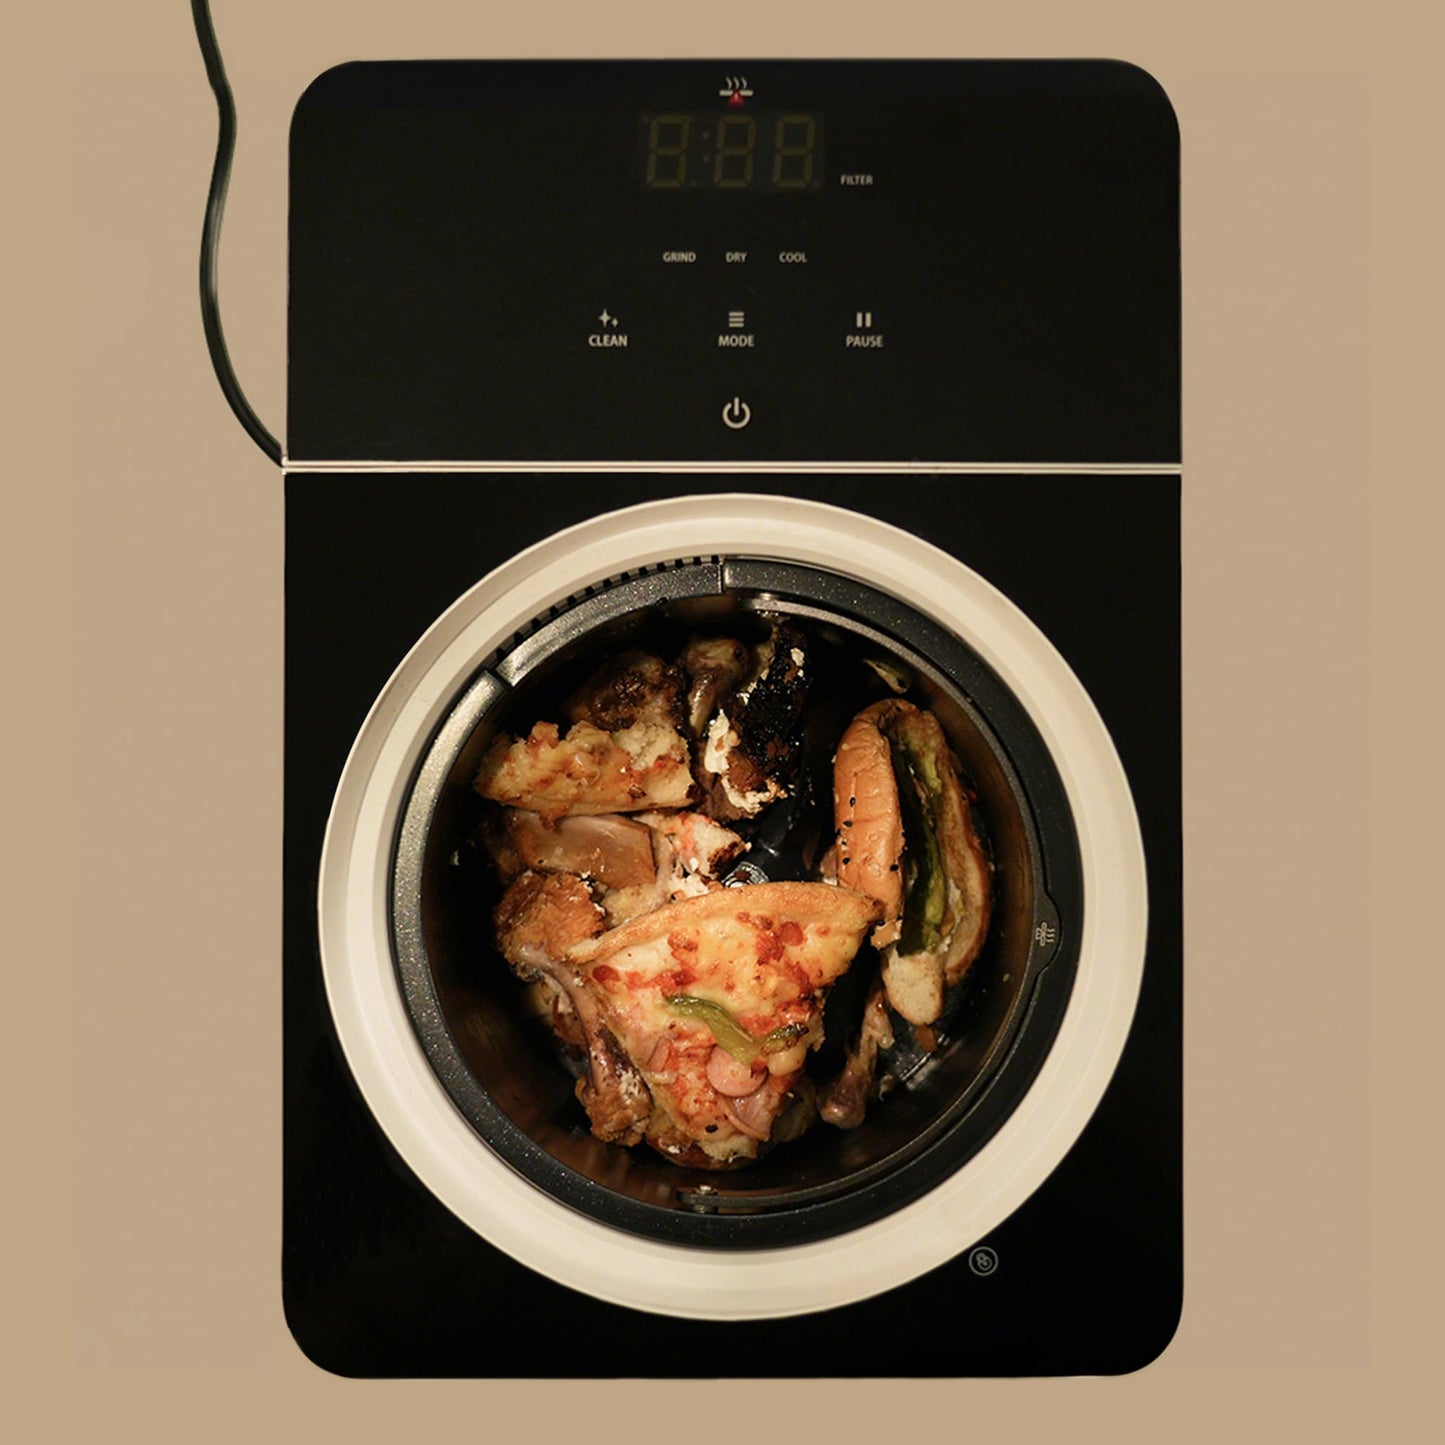
How to Clean an Electric Composter Drum Without Guessing
Clean only the parts your exact product guide identifies as removable and washable. Let the machine finish and become safe to handle, remove the food-derived material, keep the electrical housing dry, clean listed surfaces without forcing sharp parts, dry and reassemble as directed, then confirm the drum and airflow path are correctly seated.
The universal rule is to stop before model-specific details
Electric composter buckets differ in coating, blade attachment, seals, sensors, drive couplings, and dishwasher guidance. A method published for one brand can damage another.
Natridy has a removable bucket and detachable blade. Blade removal is with a Phillips screwdriver. Follow the supplied guide for the removal sequence, cleaning method and reassembly.
Sources: Natridy Electric Composter and Natridy appliance guides, retrieved August 28, 2026.
A five-stage cleaning decision
1. Finish, empty, and make safe
Do not reach into a moving, hot, powered, or sharp drum. Let the prescribed process finish and follow the guide's power and cooling instructions. Remove the dry, ground food-scrap material to its planned destination.
If the machine shows an error, jam, electrical smell, damaged cable, or unusual mechanical noise, stop and use support. Cleaning is not a substitute for repair.
2. Identify listed removable parts
Separate three zones:
| Zone | Default decision |
|---|---|
| Removable food-contact drum | Clean only as the model guide permits |
| Detachable blade or paddle | Remove only through the approved tool and sequence |
| Electrical housing, drive, vents, and controls | Keep dry and do not immerse |
Do not assume a removable bucket makes the entire appliance washable.
3. Match the method to the residue
Loose dry grounds may require only removal and the guide's normal wipe or rinse. Sticky starch, sugar, grease, or under-dried material may need a different approved care step. Do not scrape a coating with metal tools or add harsh chemicals unless the guide explicitly permits them.
The safer lesson is upstream: moderate sticky or liquid-heavy loads according to the input guide so residue is not treated as a cleaning-only problem.
4. Dry and inspect before reassembly
Moisture left around a drive interface, seal, blade attachment, or filter path can create another problem. Follow the guide's drying sequence and inspect:
- the drum seating surface;
- blade or paddle attachment;
- seals and lid contact;
- approved screens and vents; and
- loose residue that could obstruct movement.
Never force a part that no longer aligns. Photograph the condition and contact support.
5. Reassemble and verify
Reinstall every part in the prescribed orientation. Confirm the drum sits correctly and the blade or paddle moves only as the guide says it should. Do not run the machine empty as a cleaning test unless the model instructions explicitly allow that operation.
Why competitor cleaning instructions do not transfer
FoodCycler says its removable bucket can be soaked in warm soapy water and is dishwasher-safe, while warning owners to keep hands away from sharp blades. Those instructions establish FoodCycler's care routine. They do not establish Natridy's dishwasher or soaking rules.
Source: FoodCycler FAQ, retrieved August 28, 2026.
This distinction matters whenever a search result says "all electric composters." Model-specific care wins.
Clean the source before blaming the filter
Residue inside the drum can generate odor when the lid opens. A carbon filter treats air that reaches its path; it does not remove stuck material or dry a wet load.
Use this diagnostic order:
- Inspect and clean the the removable food-contact surfaces.
- Confirm the material reached the expected dry state.
- Check permitted vents, screens, and filter seating.
- Consider carbon condition if odor still passes through during operation.
The odor-control guide explains why source, transport, and capture should stay separate.
What not to improvise
- Do not submerge an electrical appliance.
- Do not reach around sharp blades with bare hands.
- Natridy blade removal is with a Phillips screwdriver.
- Do not use another brand's dishwasher claim.
- Do not scrape coatings with tools the guide does not list.
- Do not spray cleaner into vents, sensors, drives, or filter cavities.
- Do not force a jammed blade or run a damaged machine.
If the supplied guide is missing, contact Natridy support with the model number and photographs before disassembly.
A maintenance log that prevents guesswork
Record the date, food mix, residue type, approved cleaning action, odor location, and any repeated symptom. A pattern of sticky loads suggests input balance. Repeated wet output suggests a loading or processing issue. Exhaust odor after a clean drum suggests an airflow or carbon check.
The log turns "the machine smells" into an observable sequence that support can diagnose.
Keep the first-week checklist, input rules, odor-control diagnostic, and Natridy Electric Composter together so cleaning stays connected to loading and troubleshooting.
FAQ
Can I put the Natridy drum in a dishwasher? Natridy's product page describes sink rinsing after blade removal but does not specify dishwasher use. Removability alone does not establish dishwasher suitability. Follow the supplied guide for the drum's washing method.
How do I remove the Natridy blade? Natridy's blade removal is with a Phillips screwdriver. Follow the supplied guide for power state, orientation, fastener direction, handling, cleaning, and reinstallation. Stop if the part is stuck or damaged rather than increasing force.
Will washing carbon restore its odor capacity? Washing food residue from the drum does not restore depleted carbon's adsorption capacity. Treat drum cleaning and filter maintenance as separate jobs, and follow the supplied filter-care instructions.
Why is material sticking to the drum? Possible contributors include excess liquid, dense starch, sugar, fat, overloading, incomplete drying, or residue from an earlier load. Record the input and result, use the model guide's approved care step, and correct one likely upstream variable before the next supported batch.